|
Comments
Knowing how and why it's important to keep a ship's log is important. This video talks you through the log of a Clipper Race yacht.
I came across this video the other day. It's an extremely thorough and, I think, clear explanation of how Atmospheric Circulation works, why we have air masses of warm, low pressure zones and cooler, High pressure zones. Thanks to Amit Sengupta for the video. 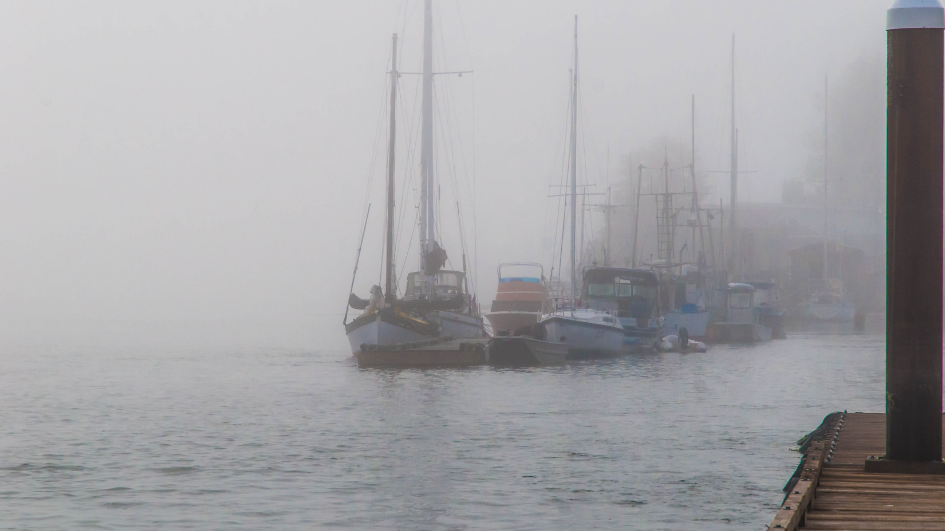 Fog is one of the very few things that keeps us in port on training  On the Level 1 training week Clipper spends a lot of time on safety, systems and basic sail changes and evolutions. This includes reefing and headsail changes. Normally this is done at sea. However, one misty Spring day in 2013 saw us fogbound in Cowes. What to do? We used the time practicing the recovery of an injured crew member from the foredeck. Another favourite is rig ascents, safety drills and lessons in navigation. We also did some reefing of the mainsail - alongside. We got some funny looks from our neighbours, after all it's fairly unusual to see a Clipper 68 being reefed against a stopwatch whilst still tied alongside. 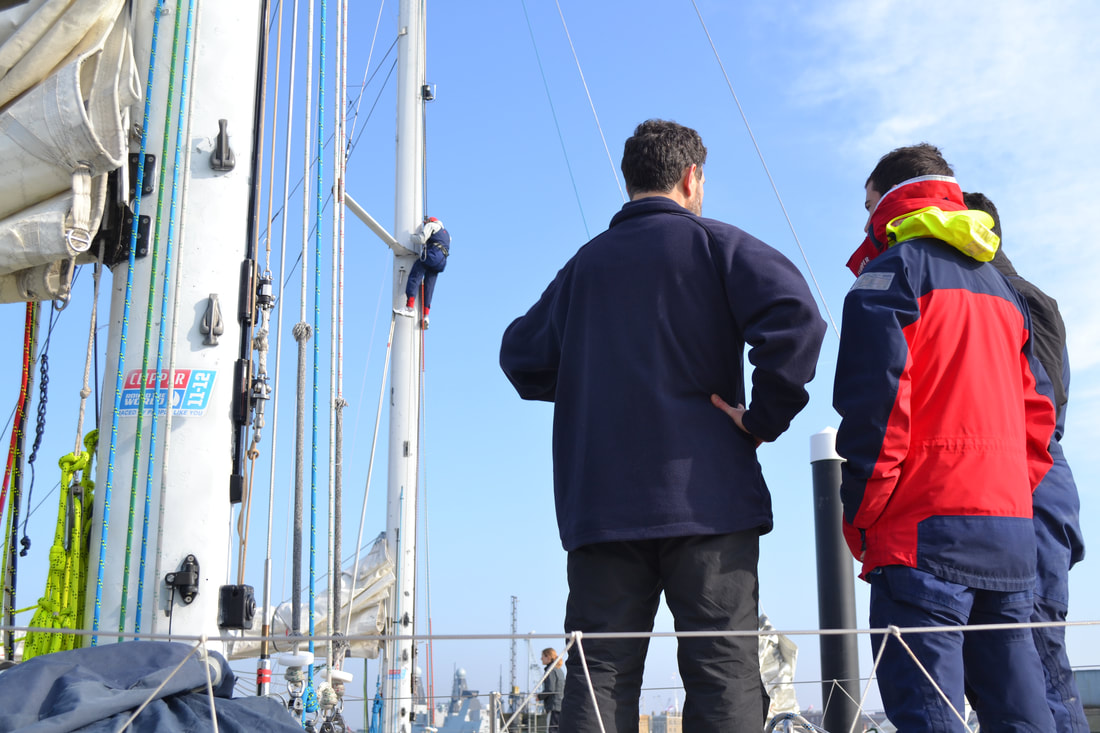 Rig ascents are popular amongst some crew - but not compulsory!   Notice that the 'working' backstay on your left is not all the way back.. This means it isn't under any real tension and therefore isn't working properly! It should be straight from the yellow line at deck through the block and black line to mast. Photo: Mark Burkes First - During my time as a Training Skipper for Clipper - and for other schools - there have always been two things that could sometimes cause confusion. Neither is complicated, but it's easy to over-think them. One is the process of reefing and throwing out reefs - the other is the proper use of back stays when tacking. In fact, someone asked me about back stays just the other day, so I will try and address the issue in detail here; 1. What are back stays for? The basic role of the back stay is to help brace the mast when underway, more particularly (but not exclusively) when the stay sail is set. The line that makes up the back stay is effectively part of the rig in the same way as the shrouds, fore stay and back stay, although unlike this 'standing rigging', the back stays can be set or not set. They are effectively, 'running' rigging for this reason. The decision on whether the back stays are set or not is something that your skipper and watch leaders will make, but in every case I can think of, when the stay sail is up and working, one back stay should always be working. The reason for this is obvious when you stand back and look at where the windward back stay goes to on the mast. It offers additional bracing to the mast to counteract pressure from the inner stay, upon which the stay sail is affixed. The windward back stay (on the high side) is the 'working' back stay and this is structural. The leeward back stay is 'lazy' and whilst it is lazy it is not structural. However, during the tack, we also use the lazy back stay and tricing line for another purpose (namely to protect crew that are located midships from flogging yankee sheets). I will go into this later. When the stay sail is down (for example when going down wind) we might still set the windward running backstay, to help brace the mast. 2. Why do we want 'back stays back' before a tack? When you sit down and think about it, this too is obvious. We know one back stay must be working and one must be lazy. One is bracing and one is not. We know this because, in most cases, if we are about to tack we must be going upwind and we probably, therefore, have the stay sail up and working. If that is the case, one back stay is set and working. The other (the lazy, leeward, back stay) will be forwards and not working. As we tack, we put the bow of the boat (the front) through the wind. As we do this, everything will flog. We do our thing with sheets so as to reset the sails on the other side, grind on the new working back stay (the old lazy back stay) and ease off the old working back stay (the new lazy back stay). To 'grind on' a working back stay we must first pull it back into position by taking all the easy slack out of the back stay. We do this by pulling on the back stay line (with 3 turns of it on the winch). This brings the back stay back. If it won't come back, a line is jammed - probably the tricing line - which is used to bring the back stay block forwards when required. Check the line run and check the tricing line block is fully open. The back stay has to be back fully and the winch fully dressed (5 turns) and a winch handle in the winch before we can grind and it has to be ready to grind before we can tack. So the very first job to be done before we can tack is to bring the 'Back stay back!' Hence, 'ready to tack - back stay back'! The Tacking Process in Brief Now let's go back to the tacking process. As we put the bow through the wind, the sails cross the boat and fill on the other side. As this happens, the boat goes flat, then tips over on the opposite tack as the sheets are ground on and the sails fill. During the tack, we need to do three things, namely; (a) brace the mast on the new windward side. In other words, we need to set the new working back stay (this was previously lazy on the other point of sail - or tack). As the stay sail sheet is ground on pressure comes onto the mast so we need it braced as we tack. (b) tack the sails by releasing the old working sheets and pulling in the new working sheets - I won't address this here.. (c) protect the crew amidships. There is lots of commotion midships as the crew tailing and grinding the sheets start getting whipped mercilessly by the flogging yankee sheets! It hurts - a lot! Crew tend to lose their sense of humour when hit - so we are obliged to stop this happening - oh for the return of the lash! The Procedure for Back stays during the tack (a) Bracing the Mast? Before the tack, we bring back the 'lazy' back stay, pulling the line with 3 turns on the winch. We do this by hand until the back stay runs in a straight line from deck to mast. If the back stay won't come back you have probably forgotten to open the tricing line clutch OR the tricing line (or back stay) is stuck around something or the line is snarled. This is why it is usually a good idea to look forward at the line run you are pulling to check for this. Once you have the back stay back and in position, put two extra turns on the back stay winch (5 turns is usually about right for a back stay winch) and make off the line in the self-tailer so it is firm. Leave the tricing line clutch fully open for now! Otherwise when you grind the new working back stay tight, the tricing line will pull tight in the clutch and you'll break a fitting. When the back stay is back and the tricing line clutch is open, get yourself braced for the tack, grab a winch handle, put it in the winch and shout back to the helm 'BACK STAY READY'! At this point, the helm will look around the deck and look for other vessels. Everyone else should be ready, so now we can can tack. The helm calls the tack (or the skipper or watch leader). But what's that..? There is still a lot of screaming, shouting and welts appearing on people's faces... Hmm - we forgot to protect the crew. (c) Protect the Crew amidships? OK. Remember I mentioned that during the tack the yankee sheets tend to flog violently? Well, there is a way to protect our crew on the winches and this is where the other back stay comes in. During the tack, the new working back stay is being ground on hard. At that point, the old working back stay becomes 'lazy'. It isn't bracing anything anymore, so we can ease the line gently to release the tension and then send it forward (to where the lazy back stays live).. BUT Rather than just send it all the way forward straight away, we have another temporary use for the new lazy back stay. If you look at all the line runs on a back stay block, we have the back stay line itself (black and yellow lines in the photo above) and some more smaller line that runs from the block forward to the shrouds and deck (the tricing line). We have a nifty little trick to follow - see below.. First - what all the 'bits of string' on the back stay do - and why The tricing line (the smaller line attached to the block and shrouds) is simply there to help the person on the back stay winch pull the lazy back stay forwards when it is no longer needed. If it didn't exist, you would have to walk down the low side with the back stay block and secure it at the shrouds - this is not a good idea as it would result in you falling over - and maybe in! That's all the tricing line does in most instances. It isn't 'structural' as such. That's why it's a small line. The other bits of line are the structural back stay. They connect the mast with the block and the block with the deck and onto the winch - which we can grind on to create bracing load and a working back stay. The Nifty Little Trick! This is where we differ during the tack to when we normally just send the back stay block all the way forward, by the shrouds. Remember the moaning crew with bruises and welts all over their faces from the flogging yankee sheets? Well, we are going to protect them - aren't we thoughtful. What if, when we gently released tension off the old working back stay during the tack, (whilst the other back stay is being ground on hard to brace the new high side of the mast) we were to take the back stay block just halfway forward? Why? Well, if we put the block at mid ships and pull the back stay line (on the winch) and tricing line (that runs through the jammer) taught, we create a cage of lines. A taught 'cage' of lines which will protect the crew at midships from flogging sheets during the tack. They just bounce off the tricing line and back stay block. How clever is that! But sometimes people have trouble getting the timing right. You have to ease off the load gently so that the shock load doesn't shake the mast, then pull hard on the tricing line to move the block forward fast, whilst at the same time easing the back stay line on the winch. This can be awkward. Here is why; (i) the new 'lazy back stay' block will be pulled forward towards the shrouds by the you pulling the tricing line. (ii) The block will probably suddenly stop! Ah. Whay? What now? This is because the back stay line (yellow in the photo) is probably still turned on the winch. So to allow the block forward, pull the tricing line, having taken the line on the winch down to just one or two turns. Make sure it is running clean. Then continue pulling on the tricing line. The block should then move forward swiftly - under control. In light airs, the one turn on the winch will probably be just enough friction to stop the block swinging uncontrollably and banging someone on the head (normally the people on the high side yankee and stay sail sheet winches). When it's very windy or rough, you might need to give more thought to controlling the back stay line on the winch to stop this happening - an extra turn on the winch is usually enough. Practice makes perfect. To clarify - all we do is give a few good healthy pulls on the tricing line (armfuls of line) to send the block forward (as described above). The block moves swiftly forward (assuming we have only one or two turns on the winch) and when the block gets to the side gate in the safety rails, we pull hard on the tricing line AND the back stay line on the winch. Remember to stop at the gate - and always warn people you are sending the back stay forwards. So what have we achieved on the back stays? We've;
The Clear Up. The person on the new lazy back stay Once the tack is completed and the new sheets have stopped flogging, the lazy back stay block can continue to be pulled all the way forward. Then make off the line with three turns on the winch and make it in the self-tailer. Then close the clutch on the tricing line and pull it tight. Tidy up any leftover line and return to the high side. The person on the new working back stay You will have finished grinding on the back stay pretty fast - primarily because all your work was in the preparation, so all you now need to do is stow the winch handle safely, put the safety turn on the working winch, close the tricing line clutch (we left that open whilst we were grinding so we didn't break gear on the deck) and then tidy the lines and return to the rail on the high side. The Idiots Guide! Lots of people get confused with this procedure - especially if they are new to back stays. I think it's because they are unsure what all the lines do and why the procedure changes on the tack. Hopefully you get it now? Like everything else, once it is in your muscle memory it'll be easy. Remember, the whole process starts with "Ready to tack! Back stay back?' If you are on the rail or close to the companionway, you are well placed to do this. Which back stay comes back? Well look at the rig. One back stay is already back, so it must be the other. Simple! Which line do you pull to pull the backstay back? The thicker, back stay line that is round the winch - that's the one to pull. Remember, the person on the low side with the lazy backstay starts the tacking process! The boat cannot tack until that back stay is all the way back and the back stay runs in a straight line from deck, through the block to mast. So once the tack is called - get that back stay back! Remember to let people know the back stay block is moving. "BACK STAY COMING BACK!'. Once back and running straight from deck to mast, add a couple more turns on the winch (watch for riding turns and use good winch handling technique) so there are five turns on the winch. 'Make' the line in the self-tailer and put a winch handle in the winch. Check the jammer / clutch on the tricing line is open. Now you are ready! Once you are ready to winch, with back stay back and tricing line open, turn to the helm and shout 'BACK STAY READY!' The boat tacks, you grind your winch (the new working back stay), the person on the opposite side of the cockpit gently eases the load tension on the winch, then quickly sends forward the block to midships by pulling the tricing line - make sure the turns on the winch are not stopping the block moving forward! When the block is at the gate, pulls both lines hard to protect the crew - then after the sheets have stopped flogging send the block all the way forward and tidies up. Top Tips:
TROUBLE SHOOTING & ERROR AVOIDANCE
Remember - you are doing the first job on the tack if you are bringing back the lazy back stay. Get on with it! Once everything is set and you are ready to grind - grab a winch handle, put it in the winch (check tricing line clutch is still open - for now - and shout 'BACKSTAY READY'! How easy is that..? If still unsure - ask. And perhaps take a few minutes with your crew to practice alongside when it's quiet - check with your skipper or mate first obviously. I hope this helps. It should go without saying that as practices change, you should always follow Clipper's own sanctioned training methods - but in general terms this is a tried and tested procedure that Clipper have taught for years. Like and Share it please...! If you find this and other Fierce Turtle blogs useful please take the time to like us on Facebook and share the blog among your friends. And make sure you subscribe for more blogs and discounts. Sail safe! The Clipper Race isn't a cheap activity. Therefore, it makes sense to do as much as you can to make yourself as useful as possible on the race. To paraphrase John F Kennedy "ask not what your crew can do for you, but what you can do for your crew". Improve your skill set! Making yourself as knowledgable as possible means you can give more to the boat. Giving more to the boat means you get more back. It's that simple. You should read the Clipper Training manual before Level 1, especially if you are a non-sailor. In fact, if you already sail, reading the Clipper manual is probably just as important, because you'll be learning 'the Clipper way'! Ask the office for the PDF. Before Level 1 Training
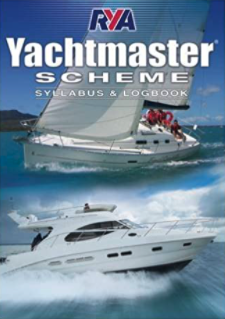
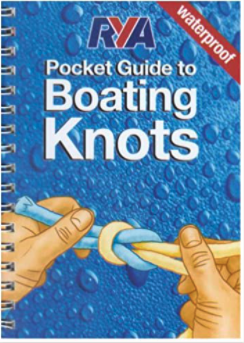
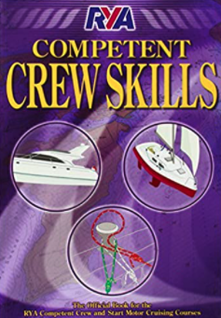
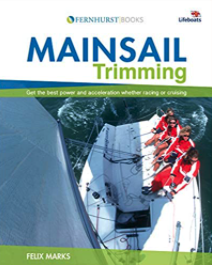
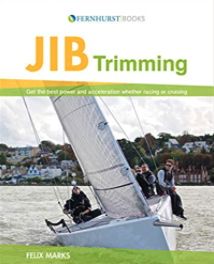
The RYA Syllabus has a logbook in the back which most sailors use for logging their miles and qualifications. If you intend to continue sailing, buy a logbook and get your skipper to sign it at the end of the course - at the debriefing. You need to decide what is useful to you. If you're a non-sailor just buy the Competent Crew book and knots book (or an app). Day Skipper is a bit too advanced. Before L2, reading the easy-to-read books on sail trim would be a great idea.
Before Level 2 TrainingLevel 2 is spent largely at sea. After building on level 1 training, you'll be off to experience spending time in a watch system. An ideal opportunity to put into practice sail trim and 'tweaking'. Go play! That's what you are at sea for after all. Team Spirit is just an interesting read.
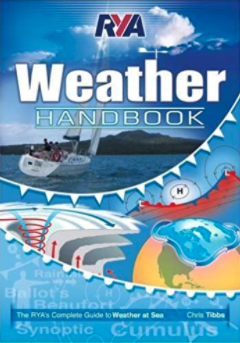
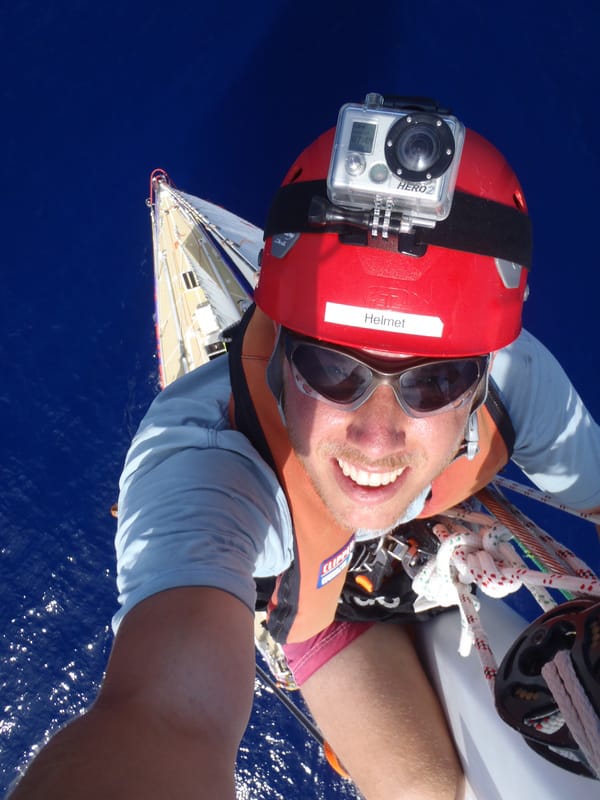
Before Level 3 and 4 TrainingLevel 3 concentrates on spinnaker work and race tactics. By now, learning about the weather is also a good idea. There are books produced by the RYA which cover Northern and Southern hemisphere. Dependent on which leg you are racing, consider buying and reading one. They are well illustrated and easy to read. Regular, preventative maintenance of your boat and its systems is critical when undertaking an ocean passage; even more so when you're pushing the boat in race trim. A significant part of your maintenance programme will include your sail wardrobe and standing and running rigging. To check the rig, blocks and halyards, you're going to need to do a mast ascent and this will mean undertaking a risk assessment. Yes, yes, 'Health and safety', but believe me, the first time you leave the rig in an unplanned swing, you'll be a believer! Climbing a rig when underway is different to when sitting alongside a dock.
If you plan on being up there a while, a 70 cm long strop with a carabiner clip on both ends can be useful for attaching yourself more securely to the mast whilst working aloft. Once the climber is ready, check the lines for the climb as follows;
Before you start the ascent, you are going to need something to stop you swinging off the mast and acting like a conker, halfway up. There are a lot of hard, sharp bits of metal up there and you get quite a speed up if you do start swinging. Trust me, I know. I'd recommend using your safety line. Clip it to your lifejacket hard point, then put it around a halyard that goes to the top of the mast (on the same side as the ascent) and clip it back to your jacket. This way, you are not 'connected' to the third halyard but, if you lose connection with the mast your swing will be limited to 2 or 3 metres. It'll still hurt, but you'll be under some control. If you don't have a spare third halyard then rig a downhaul line, attaching it to your harness strong point and running it down to deck, preferably through a block near the mast foot at deck level and back to a winch. This too, will help arrest a swing. On a very large vessel, a downhaul must be used, otherwise, there might come a time where the weight of the halyard in the mast overcomes the weight of the climber and at that point up you go! Not pretty. On the ascent, if you are fit and strong enough to climb, make sure your crew mates know so that they can take up slack as you go. If you're going to be winched, try and stay on the high side and ascend spiderman like, making sure to keep hold of the mast and rigging as you go. If the boat is heeled over, stay on the windward side of the mast and that way you have gravity working on your side. Watch you don't get fingers and heels stuck in the nooks and crannies of the rigging. As you go up, someone needs to be running the deck, making sure winches are being handled properly. Someone should also be 'eyes on' the climber at all times, relaying signals as they ascend. Once there, the halyards should be secured and I'd recommend a clove hitch on top of the winch turns at the end, so as to prevent a line coming off a winch or someone accidentally removing the line. On this point, never leave your winch when there is a crew member on the end of the line! Close the clutches on the halyards if you have them. On descent, first, open the clutches, then remove the clove hitches. Take the primary winch down to the number of turns that will allow you to ease the climber freely, but under control. This will vary dependent on the halyard and winch size but three turns is probably good. The secondary winch needs to be eased faster than the primary (otherwise it'll be a jerky and uncomfortable descent for the climber). You might consider removing turns to 2 turns and let the line run freely as the primary winch controls descent speed. Don't let the halyards run through your hands. Ease them in long, smooth actions, hand to hand - their crotch area will appreciate it. As the climber descends, the person in charge keeps watching the climber at all times and communicating with the deck crew. Once back at deck, make sure all halyards are secured properly to the pin rail, making sure that each halyard run is correct and not tangled around the forestay or rig. Always look up when handling halyards to prevent this eventuality. Despite all of this, it can still go wrong. Just make sure you remain attached to the third halyard or downhaul and a painful swing is the worst you can expect. |
The Author
(kneeling)
Mark Burkes is a former Clipper Race Skipper, a round the world crew member, Clipper Training Skipper & jobbing RYA Yachtmaster Instructor. He has over 250,000 miles logged.
Mark also writes professionally both online and offline and has written for Yachting World. ADVICE BY TOPIC
All
Fierce Turtle is not linked to nor is it in any way accredited by the splendid folk at Clipper Ventures. All opinion is my own.


Archives
July 2023


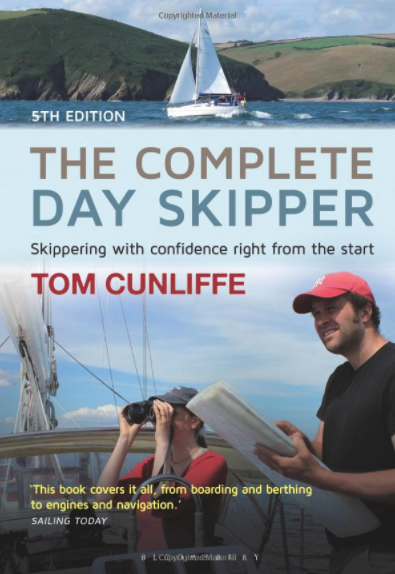
Buy it now on Amazon!

A must-read for Clipper Crew!

This blog is entirely free. However, if you'd like to make a small contribution towards web hosting costs it'd be very much appreciated.
|
 RSS Feed